Nowadays, deployment is not only for dev ops. A complete developer have to know overall. Today, I will show my steps to deploy on pythonanywhere.com
Step 1: Create an account
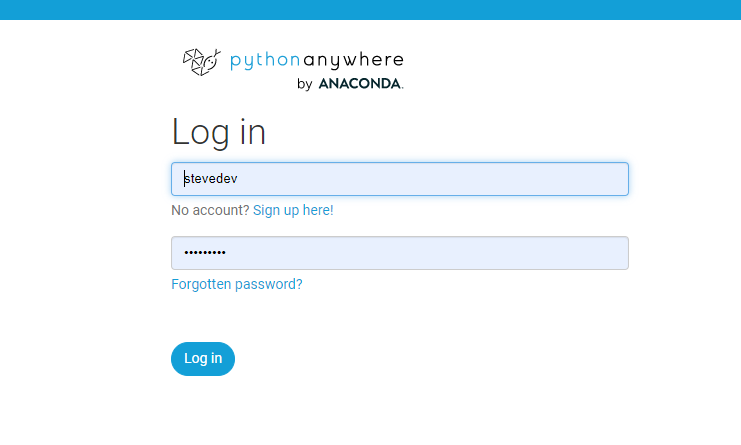
Your username will be used a sub domain. Example, my username is stevedev so my domain will be stevedev.pythonanywhere.com So that be carefull when create username
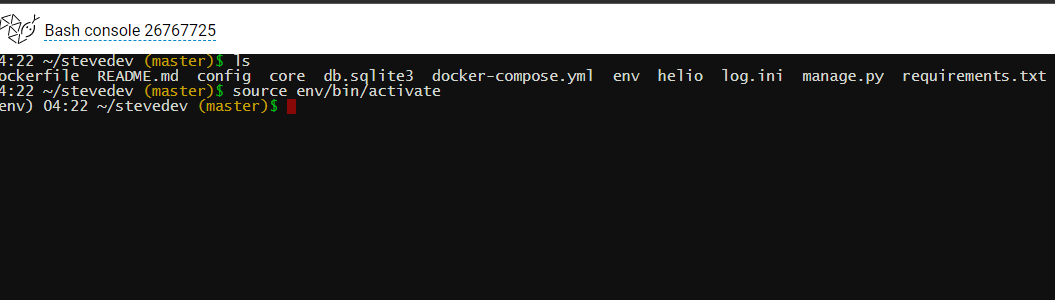
Step 2: Access to console

Step 3: Git clone and install library like in local machine
Step 4: Set up project
Set up project like this
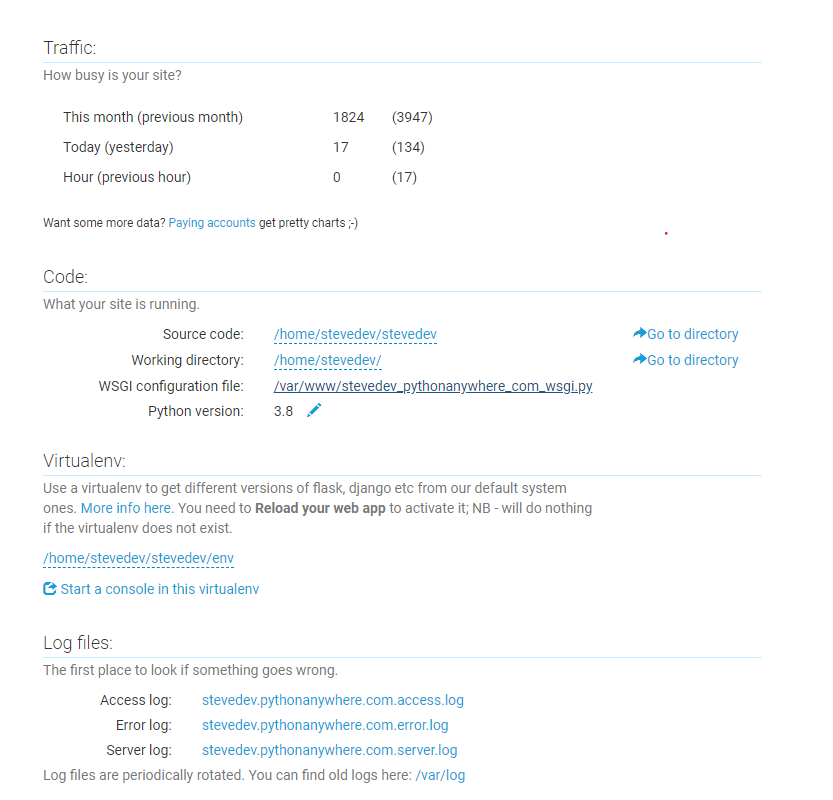
Sometime, we need to change in wsgi. For me, I want to set up link config_local and set path
Finally, just pushlish this project
pythonanywhere.com is free platform to deploy django project, you also deploy another python framework like flask or FastAPI.